
Welcome to FilmCraft
FilmCraft is a free, open-source video editor built to work like Adobe Premiere Pro. If you know Premiere, your hands already know where everything is. It runs natively on macOS, Windows, and Linux, and even in the browser via WebAssembly.
It’s built in Rust, from scratch, with its own video and audio codecs — no FFmpeg inside. You’ll use it to cut clips, add titles, grade color, mix audio, and export a finished video.
Opening the app
- Launch FilmCraft from Applications (Mac) or the Start menu (Windows). If you haven’t installed it yet, download it free from getartcraft.com/apps/filmcraft.
- On first launch you may see a demo project — a sample edit you can click around in and explore.
Watch this 1-minute overview — it walks you through every panel of the FilmCraft workspace.
Watch this overview — each panel lights up as it’s explained.
Watch this overview — it zooms into each panel as it’s explained.
The main panels
When you open FilmCraft you’ll see several areas. Here’s the whole workspace with each part named, so you can see where everything is.
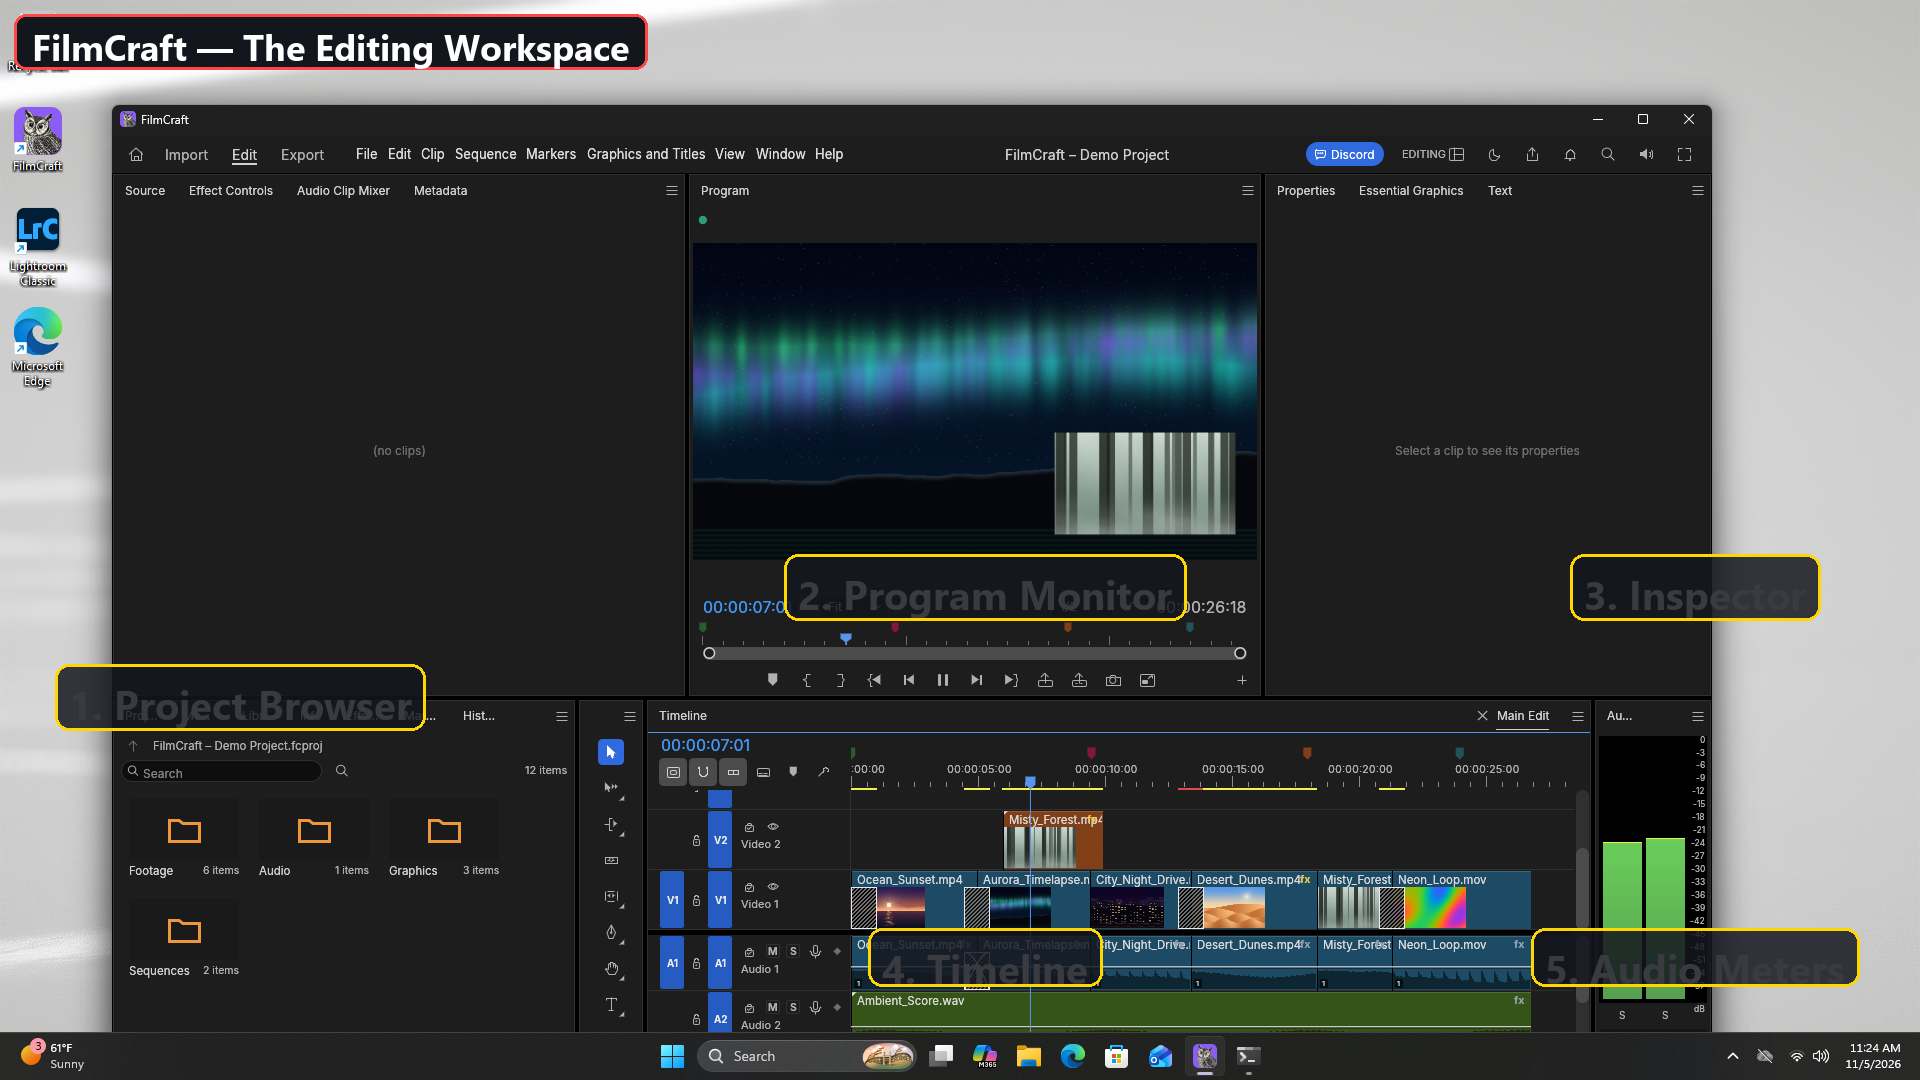
That’s the whole picture. Now let’s look at each panel one at a time.
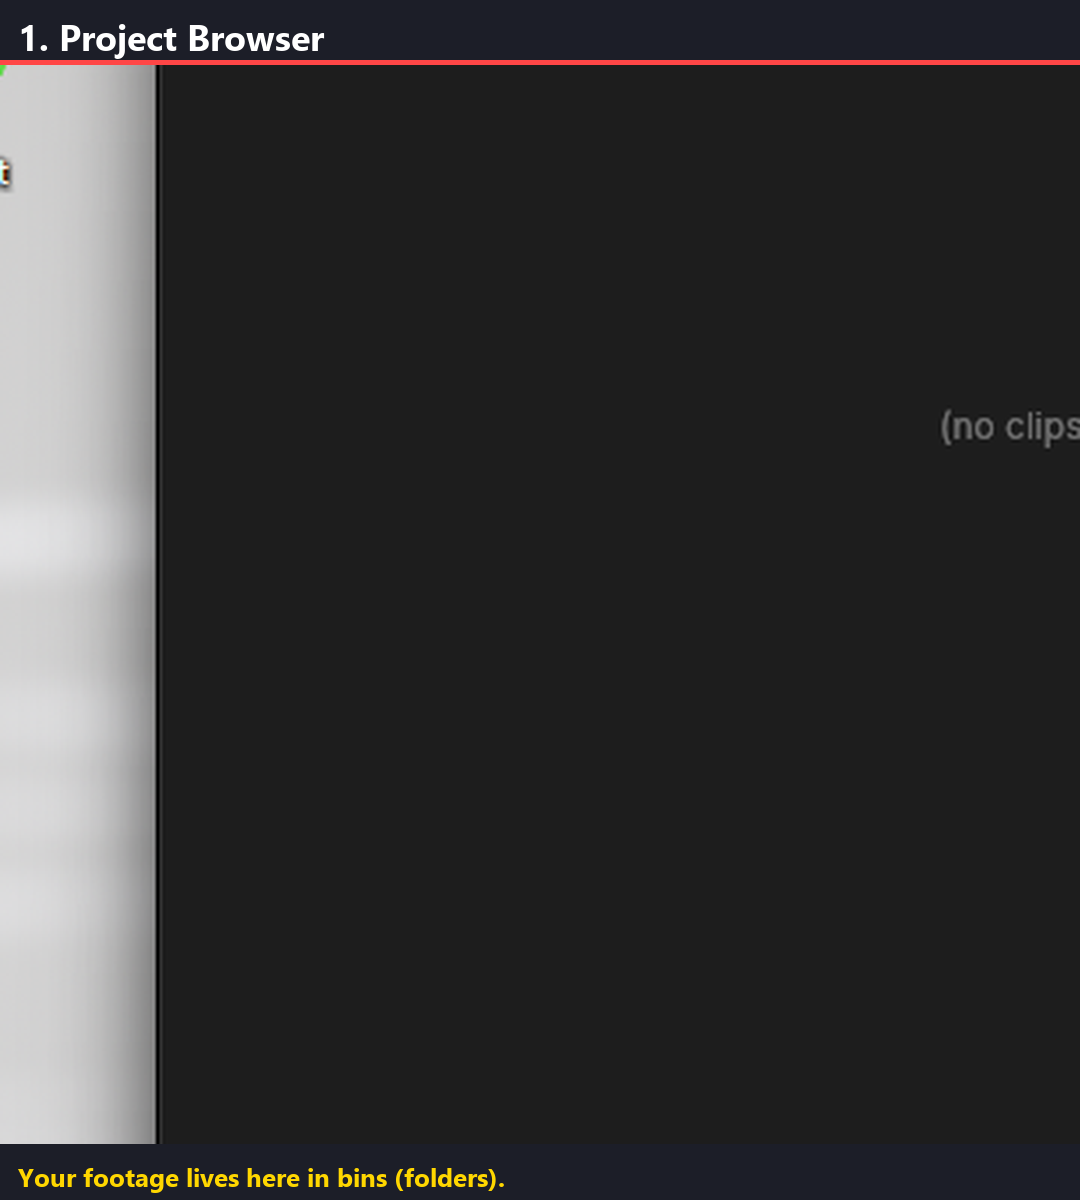
1. Project Browser (left) is where all your footage lives. When you import video clips, photos, or music, they land here in folders called bins. Double-click any clip to preview it, then drag it down into the timeline to use it.
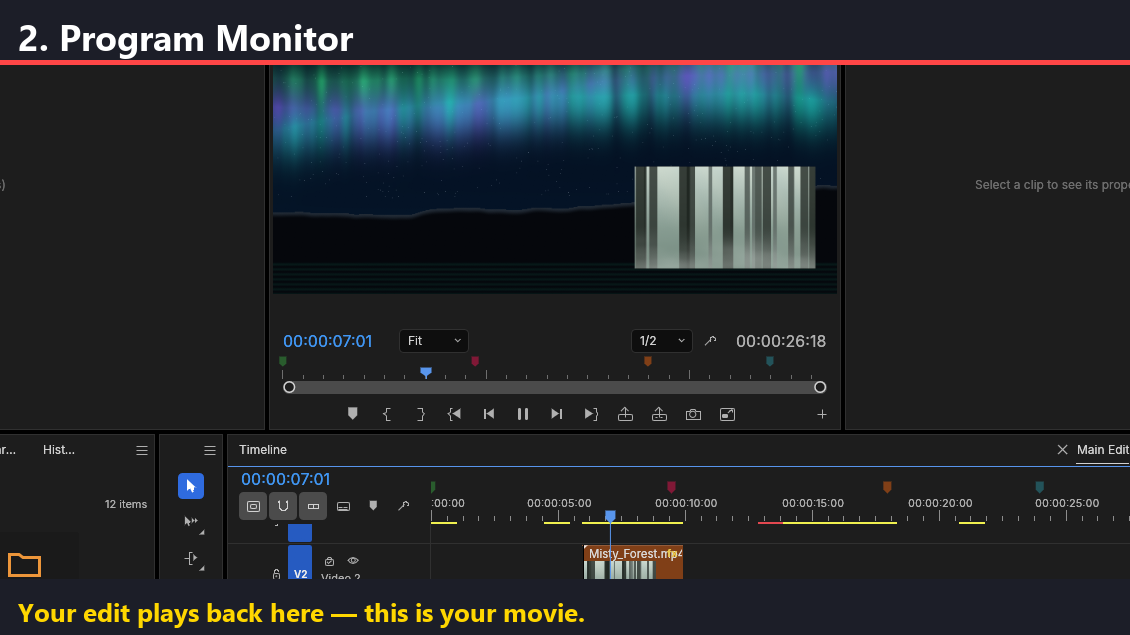
2. Program Monitor is your main preview screen. It shows your edit — the timeline — exactly as it will look when you export it. Press play and watch your movie come together here.
3. Inspector (top-right) shows the settings for whatever clip or effect you have selected. Click a clip in the timeline, and here you can change its position, size, opacity, and more. When nothing is selected it says “Select a clip to see its properties.”
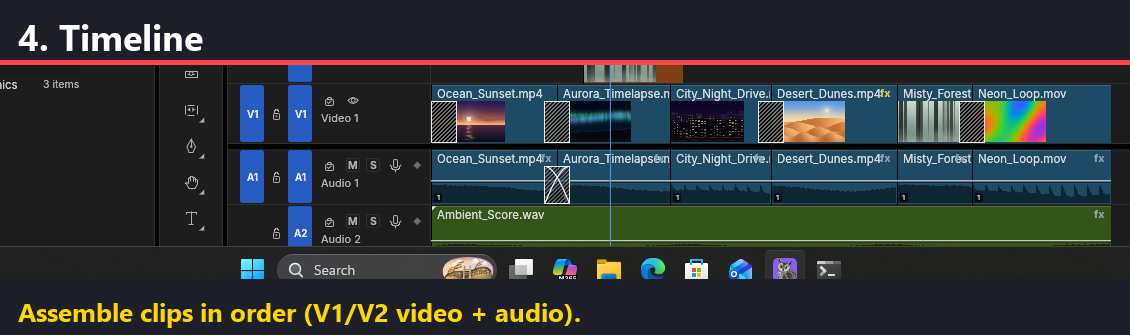
4. Timeline (bottom) is the heart of your edit. It runs left to right — time flows left to right. Video clips sit on tracks labeled V1, V2… and audio sits on A1, A2…. Drag clips here, trim them, and arrange them in order to tell your story.
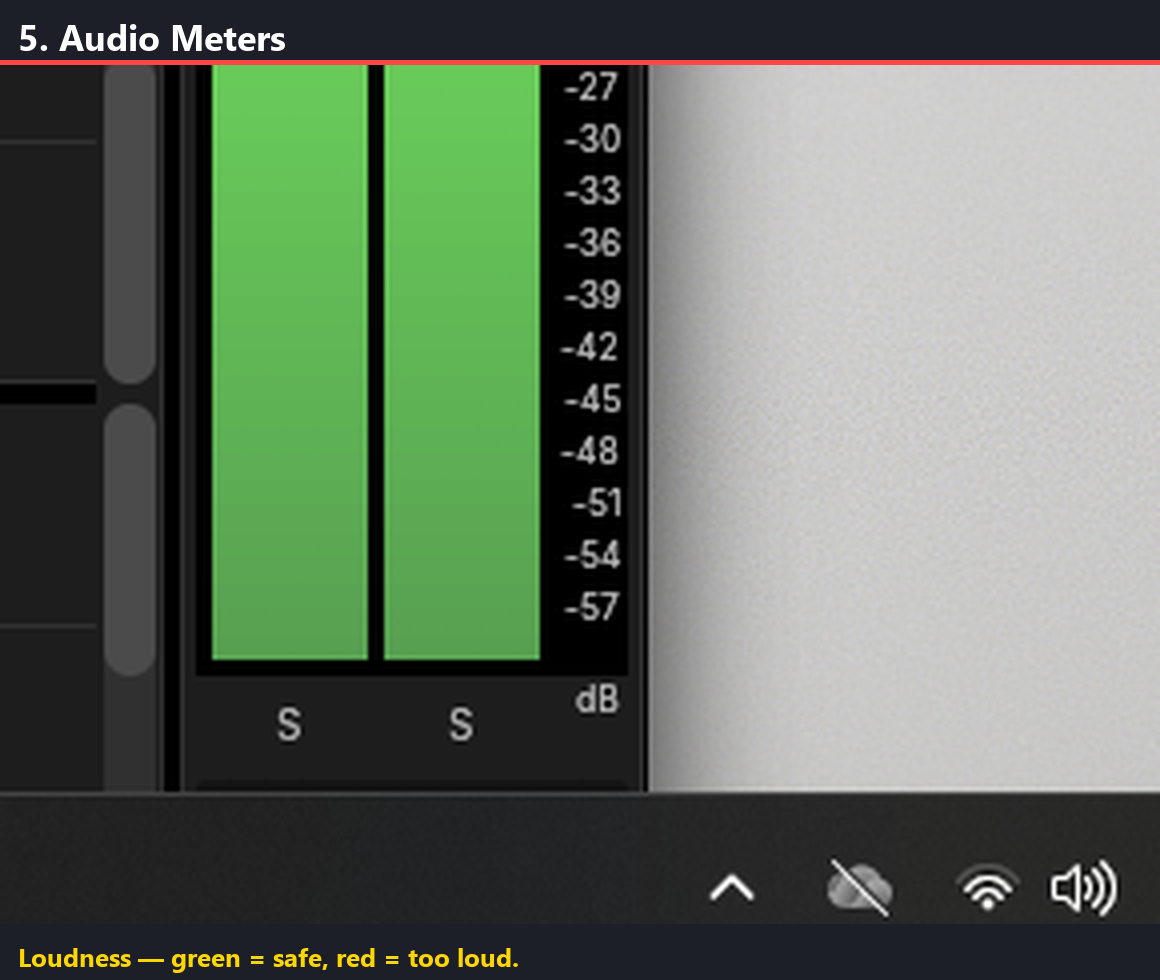
5. Audio Meters (far right) show how loud your sound is while it plays. Green is good, yellow is getting loud, and red means it’s too loud and will distort. Keep your levels out of the red.
Workspaces
FilmCraft has five workspaces: Editing, Assembly, Color, Effects, and Audio. Switch from the top menu — each rearranges the panels for a different job. Every panel can be docked wherever you want it.
Keyboards (Mac vs Windows)
On Mac, ⌘ = Command and ⌥ = Option. On Windows, use Ctrl instead of ⌘ and Alt instead of ⌥. This course uses Mac keys; translate them to Windows as you go.
Never lose work
FilmCraft auto-saves a rolling set of versions, and a crash-recovery journal brings back unsaved changes after a crash or power cut. Save freely — it’s atomic.
Try it yourself
Open FilmCraft, click through the five workspaces, and notice how the panels rearrange for each one.
Course on media.sacaa.org — free for any visitor, no login required. Work through lessons in order.